Astronomy Image Analysis Lab
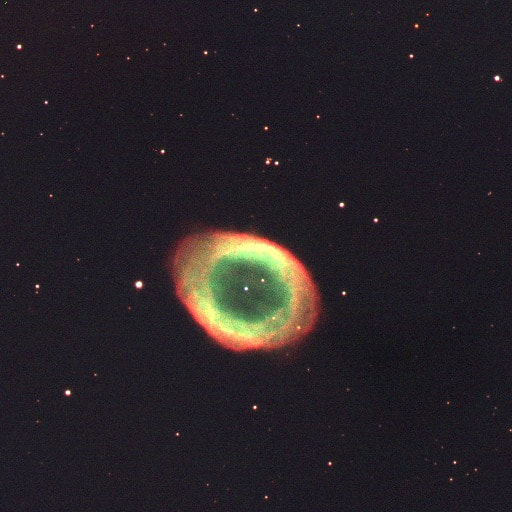
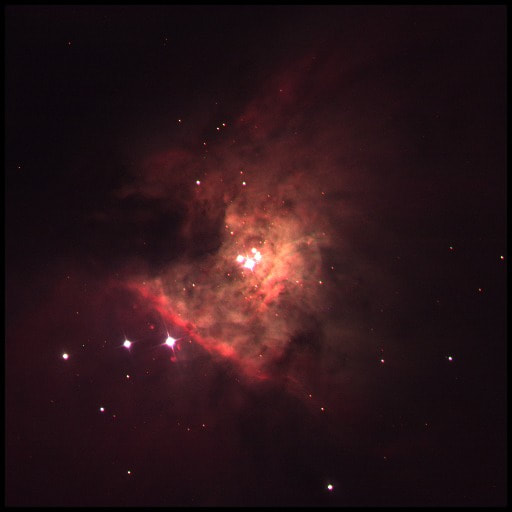
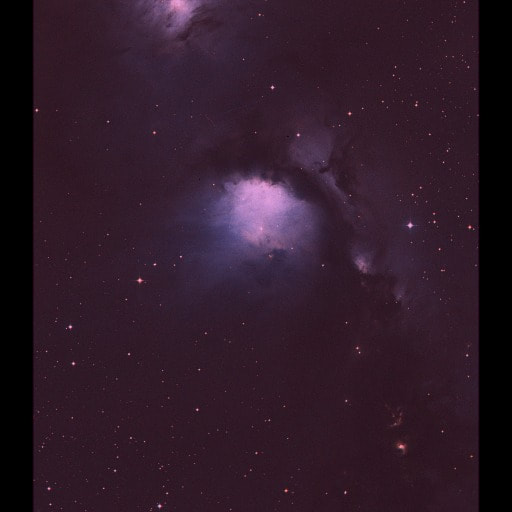
For this assignment we had to create a bunch of images to measure a start's brightness. When observing brightness in space we use 3 different filters along with pixel counts to measure the star's brightness. The three pictures below are ones I created to get the most accurate measurements of brightness. The 21st century skill that embodies this assignment is self-direction skills. This is an asynchronous class meaning we never meet in person with the professor. My professor posts the assignment with instructions and it is up to me to complete the labs and gain the understanding of each lesson. Overall, this assignment helped me understand how to measure a star's brightness as well as sharpen my self-directional skills.
PhotometryTroy Begley
Make a copy of this document. The places that require your answers are indicated in purple. Please keep your answers purple.
Magnitude Review
A star's brightness is measured by its magnitude, which tells how bright a star or galaxy appears from Earth. Astronomers have used versions of the magnitude scale for thousands of years, so they keep using it even though the scale is a bit confusing. In the magnitude scale, higher numbers correspond to fainter objects, lower numbers to brighter objects; the very brightest objects have negative magnitudes.
Determining Magnitudes
To determine how bright an object is, we need to sum up the number of counts this object produced on the CCD. The aperture is a circle within which all the counts are added up and used to determine the brightness of the target. However, not all of the counts within the aperture came from the target. Some of those counts come from the light scattered/emitted by the sky. To estimate the brightness of the sky, we use the pixels within an annulus (ring) around the object to determine how many counts on each pixel came from the sky.
Photometry is usually performed using a computer. This exercise will give you an idea of the procedure the computer goes through to calculate magnitudes from your digital images. In the following “images”, the four pixels at the center are within the aperture and contain the counts from the object. The outer pixels are in the annulus and contain the counts from the sky.
Total counts in aperture = 511
Average sky count = 34.5
Total counts - Sky counts = 373
Total counts in aperture for Reference Star = 5315
Average sky count for Reference Star = 50.75
Total counts - Sky counts = 5112
2.5 log10(b2b1) = m1 - m2
b2b1=13.7
log10(b2b1) = 1.14
2.5 log10(b2b1) = 2.85
m1 = 2.5 log10(b2b1) + m2 = 12.85
Photometry in JS9
Reference Star Counts: 1971722.000
Target Star Counts: 1712796.000
m1 = 2.5 log10(b2b1) + m2 =11.15
Make a copy of this document. The places that require your answers are indicated in purple. Please keep your answers purple.
Magnitude Review
A star's brightness is measured by its magnitude, which tells how bright a star or galaxy appears from Earth. Astronomers have used versions of the magnitude scale for thousands of years, so they keep using it even though the scale is a bit confusing. In the magnitude scale, higher numbers correspond to fainter objects, lower numbers to brighter objects; the very brightest objects have negative magnitudes.
Determining Magnitudes
To determine how bright an object is, we need to sum up the number of counts this object produced on the CCD. The aperture is a circle within which all the counts are added up and used to determine the brightness of the target. However, not all of the counts within the aperture came from the target. Some of those counts come from the light scattered/emitted by the sky. To estimate the brightness of the sky, we use the pixels within an annulus (ring) around the object to determine how many counts on each pixel came from the sky.
Photometry is usually performed using a computer. This exercise will give you an idea of the procedure the computer goes through to calculate magnitudes from your digital images. In the following “images”, the four pixels at the center are within the aperture and contain the counts from the object. The outer pixels are in the annulus and contain the counts from the sky.
- (2 pt) Start with the Object image. Sum up all of the counts within the aperture.
Total counts in aperture = 511
- (2 pt) Calculate the average value of the pixels in the annulus. This is your average sky count.
Average sky count = 34.5
- (2 pt) Multiply the average sky value by the number of pixels in the aperture, and subtract the result from the total number of counts within the aperture. This is the number of counts from your object.
Total counts - Sky counts = 373
- (6 pt) To calculate the magnitude of the object, we need a Reference Star with a known magnitude. Repeat steps 1 – 3 for the Reference Star image to find the number of counts from the reference star.
Total counts in aperture for Reference Star = 5315
Average sky count for Reference Star = 50.75
Total counts - Sky counts = 5112
- The following equation can be used to calculate the magnitude of the object. The brightness of the target is b1, the brightness of the reference star is b2, the magnitude of the object is m1, and the magnitude of the reference star is m2. Follow the steps below to calculate the magnitude of your target star.
2.5 log10(b2b1) = m1 - m2
- (2 pt) The brightness of the target, b1, is proportional to the number of counts from your object (the number you calculated in step 3). The brightness of the reference star is, b2, is proportional to the number of counts from your reference star (the number you calculated in step 4). Use this information to calculate the brightness ratio between the object and the reference star.
b2b1=13.7
- (2 pt) Take the log of the ratio that you calculated above.
log10(b2b1) = 1.14
- (2 pt) Multiply the value from the above step by 2.5 to get the value for the left side of the equation.
2.5 log10(b2b1) = 2.85
- (2 pt) Let’s say that the reference star has a magnitude of 10, this is the value you should use for m2. The magnitude of our object, , is the number that we want to find. Add the magnitude of your reference star to the left side of the equation to get the magnitude of your object.
m1 = 2.5 log10(b2b1) + m2 = 12.85
Photometry in JS9
- Log in to Laulima and go to Resources. Open the “Photometry” folder and download all of the images.
- Open the 1_92750a.fts image in JS9. Use the magnifying glass button to zoom out until you can see most of the stars.
- Click on the Scale menu
- Change the Scaling Algorithm to “linear”
- Change the “low” value to 1000
- Change the “high” value to 2000
- Change the Scaling Algorithm to “linear”
- To do photometry, you will need to find your Target star and your Reference star. The Target star is at a coordinate of X = 732 and Y = 926. The Reference star is at a coordinate of X = 1084 and Y = 1205.
- Click on the “Regions” menu and select the “circle” option.
- A green circle will appear. Place the circle on the Target star and resize it so that the circle contains the star but not too many other pixels, as shown below.
- Repeat these steps for the Reference star you identified in the previous step.
- A green circle will appear. Place the circle on the Target star and resize it so that the circle contains the star but not too many other pixels, as shown below.
- Click on the “Analysis” menu and select the “Counts in Region” option.
- (2 pt) A window similar to the one shown below will appear. Look under the “net_counts”. The larger number of counts is the total counts for the Reference star, and the smaller number of counts is for the Target star. Record the counts below. (Do not copy the numbers in the image below, use the numbers you got from JS9)
Reference Star Counts: 1971722.000
Target Star Counts: 1712796.000
- (3 pt) Use the equation below and the counts you recorded in the previous step to calculate the magnitude of your target star (m1).
- b1 = Target star counts
- b2 = Reference star counts
- m1 = Magnitude of the Target star
- m2 = Magnitude of the Reference star. We know that m2 = 11.0
m1 = 2.5 log10(b2b1) + m2 =11.15
